Q&A 500: How Can I Reduce Noise In My Pictures
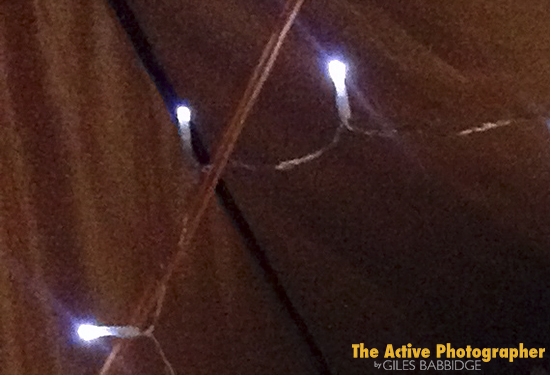
A crop taken from a picture shot in low light
As camera technology advances, the never-ending quest for high-quality digital files shows no sign of slowing down. Why would it? Sensor refinement, tailorable menu options, system accessories etc are all beneficial, but they are not perfect solutions. Sometimes, you need to take control.
What is ‘noise’?
In layman’s terms, noise is the modern equivalent of what we used to call ‘grain’ in the film photography days. It reduces clarity and sharpness of detail in pictures, leaving them less punchy as a result. Generally speaking, it is undesirable.
Simply put, if you want to reduce the noise (or, graininess) visible in your pictures, make sure you do the following.
1. ISO
ISO tells your camera how sensitive it should be to light; the higher the number, the more sensitivity, but also typically the more noise. So, set the lowest ISO you can get away with; there’s no point choosing, say, 800 when 100 will get the job done.
There will be situations where, in order to get the shot, setting a high ISO will be necessary – for example shooting in the low light of a dark room. That’s just the way it goes sometimes – but isn’t it better to have a slightly noisier picture than no picture at all?
If your camera can be set up in one position (i.e. it doesn’t need to be hand-held) and/or the subject allows, use a tripod. By removing the risk of camera shake, you can then set a lower ISO to capture all that lovely detail.
2. Exposure
Often, underexposure can lead to noisy pictures. Specifically, if you think that a shot needs brightening up after it’s taken (usually at the Photoshop stage), the process can reveal graininess, especially in shadow areas.
To avoid this, try to get your exposures as perfect as possible at the time of shooting. Pay attention to each picture’s histogram (the graphical representation of a shot which shows highlights, shadows and midtones) and make exposures as bright as you can without blowing the highlights.
It’s a lot easier to tweak the shadow areas in Photoshop, darkening them down, than it is to try to rescue a noisy picture!
3. Post production
If all else fails, there are ways to reduce noise when editing your photographs. There are many techniques – some simple, some more involved – but as ever, the best thing you can do is experiment and find out which works best for you.
I’m a bit of a purist when it comes to the way I take pictures – probably because I learnt my craft shooting on film, both as a hobby and professionally. In each case, I had to be sure of getting the results at the time.
As I mentioned above, it is far better to spend just a little extra time working out your exposures as you capture them than it is to try to rescue them in post production. And actually, it’s a lot more satisfying… Get it right and feel smug!
—
If you have a question about photography, writing, the outdoors, being freelance etc – just ask and I’ll give you a no-waffle 500-word answer. If you’re on Twitter, add the #QA500 hashtag and send your question to me @gilesbabbidge.