So then, the lovely people who bring you Focus On Imaging – Europe’s largest annual imaging show, held at Birmingham’s National Exhibition Centre – have been hard at it again, producing the latest press ad.
To briefly repeat what I said in my write-up of this previous Focus shoot, I have a long personal association with the show (if the archived collection of show guides is anything to go by!), and have been a returning visitor for many years. I’ve built up a great number of industry contacts as a result, many of whom now offer me – and therefore The Active Photographer audience – great access and insight via, among other things, podcast recordings made live at the show.
So anyway, to the shoot in question… And another day of teaming up with Matt and Thor.
Let’s begin with the idea behind the picture.
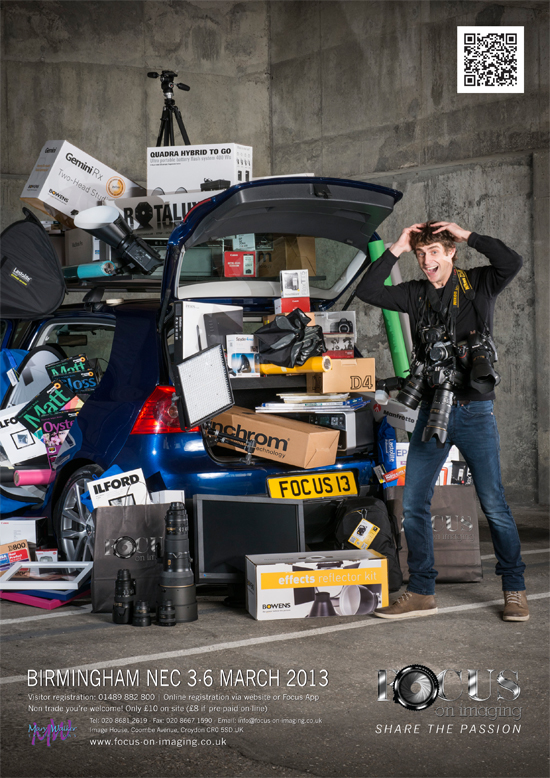
A young man has just been to Focus On Imaging, spent all his money on lots of lovely kit, and is now negotiating how to get it all in his car before heading home.
A nice, simple concept.
As ever, the day gets off to an early start, with everyone meeting at our location just after rush hour. Thankfully, there are no parking considerations today – as the shoot is taking place on the 10th level of a multi-storey car park in Portsmouth, UK! There is a crisp bite to the air, but nothing a hot cuppa can’t sort out before things really get under way.
Essentially, there are only three visual elements to arrange on this occasion – the subject, his car and the kit. The background is simply the car park itself.
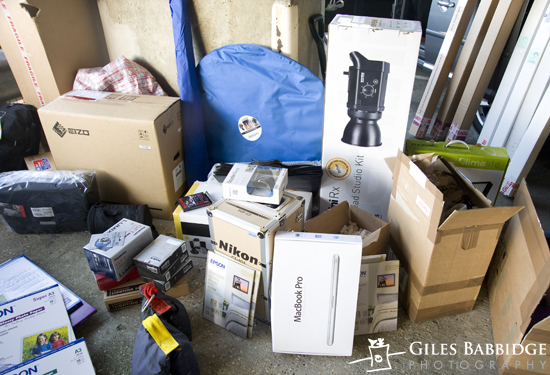
By far the biggest consideration ahead of the day’s activities was the need to get hold of some great camera gear to feature – because the final picture’s success will rely on the visual impact and gear lust that thousands of pounds-worth of top quality equipment generates.
There are actually a number of tricks which we’ll employ to accentuate this effect – but more of that in a while.
In fact, this particular shoot is somewhat lower-key than previous ones, with only a handful of people on site. Of course, that’s never a bad thing, especially when you have a team that works well together.
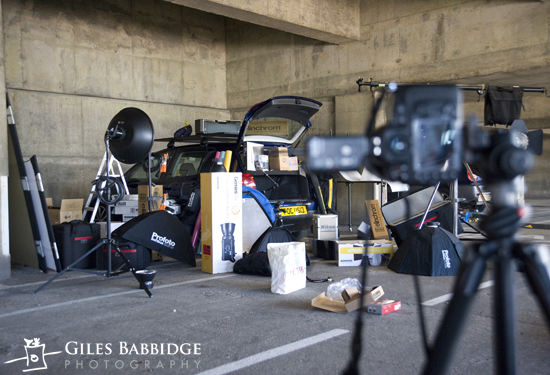
With the car positioned and a couple of naturally-lit test shots complete, the first thing to do is unpack the props. Whilst this is going on, a simple roof rack is assembled and positioned on top of the car – onto which a solid wooden board is placed. This will be home to a stack stack of kit (although you won’t actually see the board in the final picture). Trick no. 1: Add height to the picture – this will add interest and lead the eye around the frame.
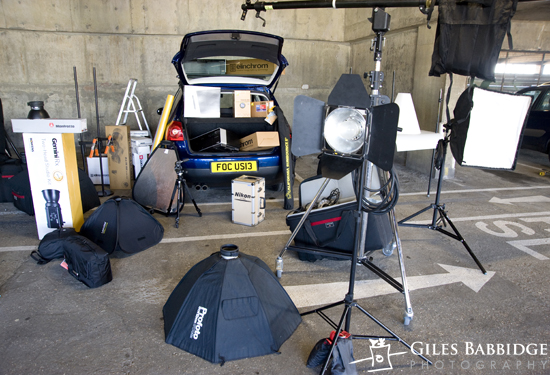
As I said, this is a team effort – and whilst one person begins setting up lights (a mix of Profoto flash and Nikon speedlights), others start moving things into place. It’s too early to start lighting tests at this stage, but already we’re starting to get a good idea of how the composition is coming together and, more importantly, how we’re going to light it.
It’s at this point that the camera – a tripod-mounted Nikon D800 – is set up, complete with 24-70mm f/2.8 lens. Trick no. 2: The compression effect of the 70mm end adds impact by filling the frame. Remember, it’s always better to capture the picture as close to how you want it at the time – don’t rely on Photoshop for cropping etc, when all it takes is a little thought before you press the button!
We’ve also got a Pocket Wizard Plus II tranceiver on top of the camera, too. This will wirelessly trigger the key light, with additional lights firing off a slave (ie they will fire when they ‘see’ a burst of flash from the key light).
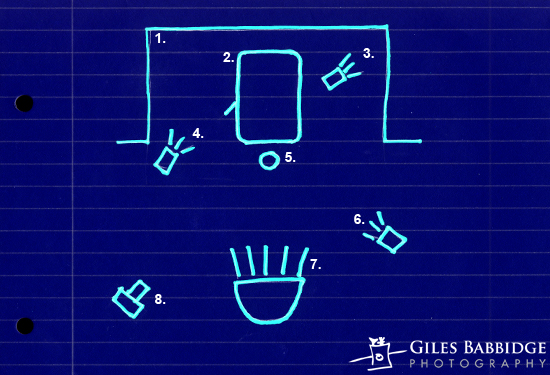
With the overall composition sorted (about 1-2 hours in), it’s finally time to think about illumination. Here’s a rough plan of how it looks from above:
1. Concrete parking bay – 2. Car – 3. Background light (Nikon SB-900) – 4. Car side light (Nikon SB-800) – 5. Subject – 6. Subject side light (Nikon SB-800) – 7. Key light (Profoto Acute 2R w/7-foot reflector – 8. Camera
As you can see, relatively straight forward.
With the key light set to correctly expose our subject, the next job is to balance up the background (most usually with the light set to something like 1/2 – 1/16th power). The side lights are again set to reduced output; their job is to fill in any shadows and create separation of our subject from the background.
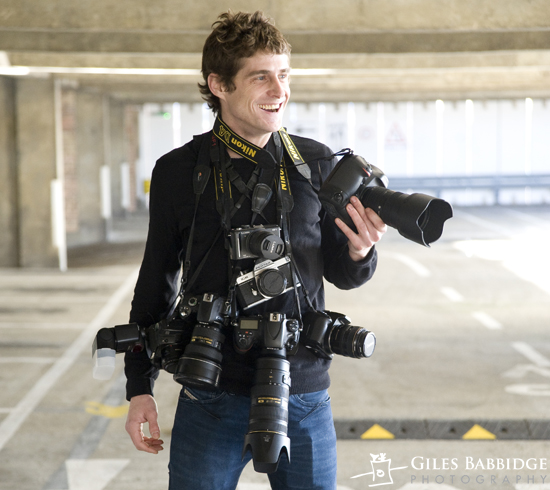
In all, it takes just 20 minutes or so for ‘the‘ shot to be complete, moving our subject around in a variety of poses and strategically placing the array cameras around his neck.
A quick JPEG file is sent to Mary Walker (the lady behind Focus On Imaging) and with confirmation that we’ve got this one in the bag, it’s time to break down the set.
All that remains is to prepare the final ad in post production. Working with 3-4 layers, Matt makes sure everything is just right – highlights, shadow areas, overall composition, text and more. It then takes him one further day of minor retouching before the first proof can be sent for approval and eventually, 2 days later, the final ad is cleared and signed off for use.
And here is the final result:
You’ve heard me say it before, but it’s true – very often it can take hours of planning, preparation and testing to get a shot in place – only for the ‘final’ image to come together in what seems like no time at all!
This is a somewhat potted history of this particular shoot – but fear not, there some more great content for you to sink your teeth into!
For example, why not have a listen to the podcast recorded live, as it happened?! In this, I go into much more detail about the set-up, talking with a number of the team as they beaver away to make the shoot a success.
Of course, you could always take a look at the time lapse video below, shot thoughout the duration of our time on location.
As ever, a big thanks have to go out to everyone at Focus and all who helped on the shoot. Let’s not forget, also, all those manufacturers who supplied kit to act as props in the final shot – without you, this shoot couldn’t have happened.
For more infomation about Focus On Imaging, be sure to take a look at the official website. You can also check out more behind the scenes and the Focus On Imaging 2012 Gallery page here.




Oooh… those lenses… you obviously go to the show on the Sunday
The Sunday always is popular, isn’t it, Tony?! plenty of eye candy for the photo enthusiast!