On a studio shoot I recently wrote about, I had to use various ways of supporting my gear in order to capture a series of products at their best. This two-part article gives you an overview of my standard go-to items for a typical setup of this kind.
So, aside from the tripod holding my camera steady, everything else employed fits into one of two cases.
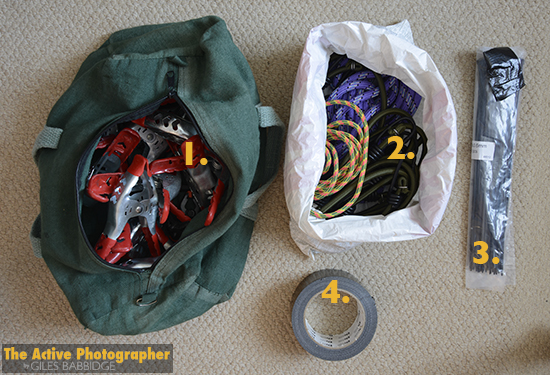
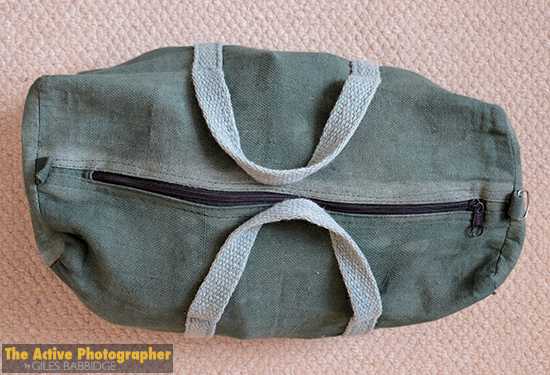
Firstly, my little green bag – a canvas number housing lighter items, which can easily be identified and grabbed quickly when required. Let’s take a look inside:
1. Standard spring-loaded clamps. Incredibly versatile and adaptable to many scenarios.
2. Rope (climbing grade) and bungee cords (various lengths) for lashing, bracing and securing lighting stands etc.
3. Cable ties. Once fastened, an incredibly strong way of securing kit (require a knife or scissors for removal).
4. Duct tape. Great general-purpose tape for on-the-spot repairs and quick fastening.
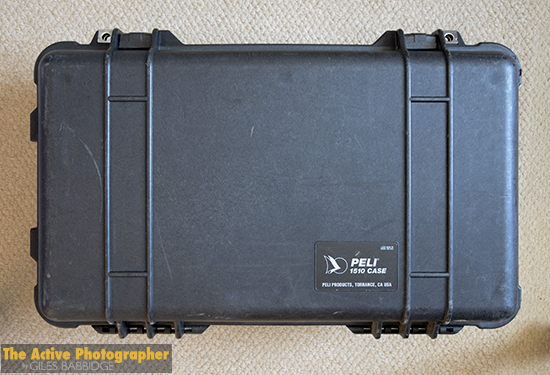
My other set of tools are somewhat more specialised and heavier. For this reason, I transport them in the second of my two Peli 1510 roller cases.
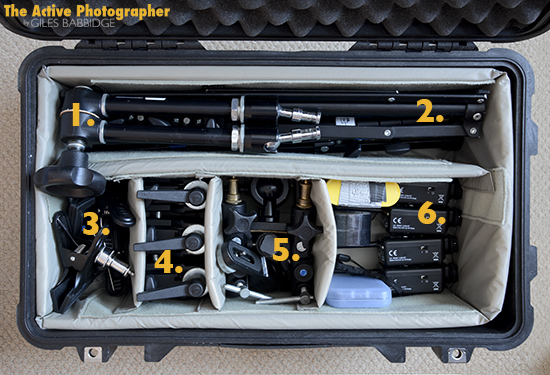
Here’s how it typically breaks down:
1. Manfrotto Magic Arm. Incredibly versatile articulated bracket, can support camera and lights.
2. Manfrotto Nano Stand x2. Lightweight, compact light stands.
3. Clamp brackets x4. For attaching flashes to various (mostly flat) edges.
4. Manfrotto Super Clamp x3. Used on their own, with Magic Arm or other accessories, for supporting camera or lights.
5. Assorted brackets & stand attachments.
6. Pocket Wizard Plus II trigger & leads x4, spare parts for stands & clamps, electrical tape. Triggers are not technically grip equipment, but most often used at the same time. Spares and tape always useful.
In addition to the above, I sometimes pack multiple tripods, lighting stands and backdrop stands – but only if I know there’s likely to be a definite or probable need for them.
Between the above assortments, I can cover about 99% of my grip requirements for the majority of shoots – whether that be bracing flash guns to trees and supports or holding items in place in order to get the right positioning for a shot.
The items I’ve talked about above have been amassed over a good few years. Along the way, I’ve tried all sorts of combinations, finding out what does and doesn’t work; most importantly, I’ve found out what kit works best for me.
In a box somewhere, I still have items which now rarely see the light of day. Some of these are even DIY versions of off-the-shelf products.
If you’re looking to build a grip kit, take a moment to consider what you really need; there’s no point spending out just because you like the idea of something. As with most camera equipment, you’ll likely find that it is the same small selection of items which you turn to time after time.
In Part 2, I’ll be breaking down the individual components outlined above.

