How To Create Easy Infrared-Style Black & White Photos On Your iPhone
If you want to create an effect similar to black & white infrared pictures on your iPhone, try the following:
1. Take a photo on a bright, contrasty day. Foliage and graphic subjects (e.g. old buildings) are perfect.
As an example, here’s my starting point – a simple shot of some brightly-lit trees in bright, late-afternoon light.

2. Using the built-in editing function (ask me if you’re unsure of this!), select a black & white filter to remove all colour (I used Noir for this pic).

3. Next, make the following adjustments:
– Increase the Highlights (I went with +20).
– Increase the Contrast (I went with +60).
– Increase the Black Point (I went with +100).
– Add a little Sharpness if you feel it’s needed (I didn’t on this occasion).
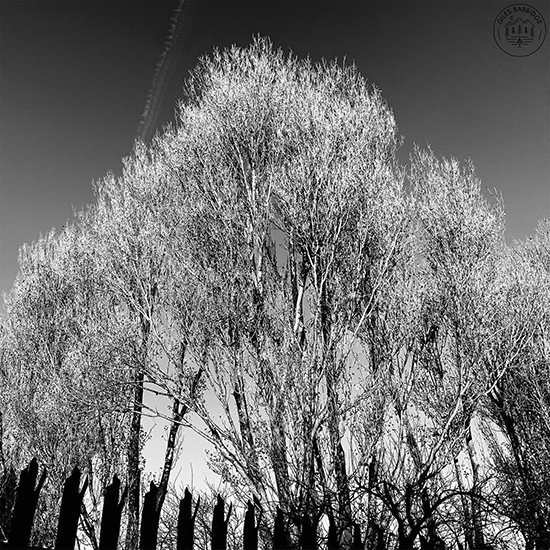
And there you go – a really quick and easy conversion!
The above should act as a good starting point, but of course, be sure to experiment with how you tweak your photos in order to create a more- or lesser pronounced effect.
You Might Also Like...


Category: Location photography, Phoneography, Technique